gatsby-curdzooにコメントフォームを追加する
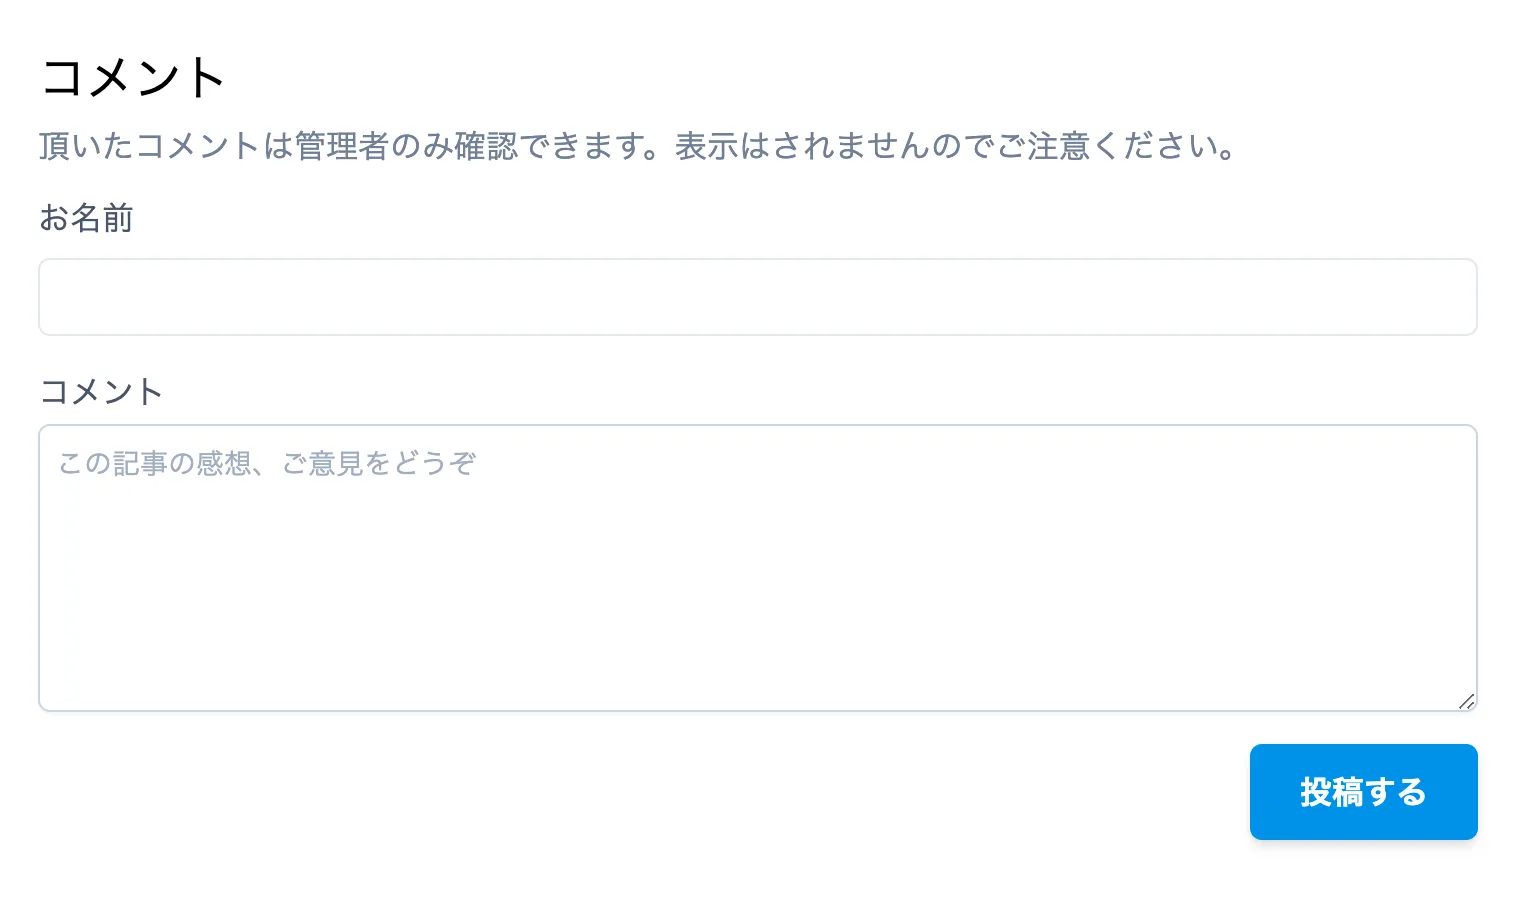
完成図
コメントフォームの追加
Wordpress と比較して Gatsby で自分のサイトを作るとちょっと面倒なのがフォームの追加です。disqus といった外部コメントサービスを使用をするのが手っ取り早いものの、非常に簡易でも良いので自分で作成したい場合は firebase を使うと便利です。
この記事は gatsby-theme-crudzoo にコメントフォームを追加した時の覚書です。Gatsby を使用しているなら実装方法自体は似たようなものになると思います。
theme にコメントフォーム用の Component を用意する
gatsby の theme を自分で作成している場合、theme を使用する側が任意で拡張できるように上書き可能な Component を作成して設置します。props には theme 使用側で使用したいものを設定します。下記の例では props に記事の id と blog のタイトルを渡しています。
// src/components/Comments.tsx
import * as React from "react";

interface CommentsProps {
  id: string;
  title: string;
}
export const Comments: React.FC<CommentsProps> = (props) => {
  return null;
};
// blog-post.tsxなどブログページ表示用のtemplateに設置する
<Comments id={id} title={title} />
自身が作成していない theme で拡張できそうな Component がない場合は、もう少し大きな範囲で shadowing するなどになると思います。例えば blog-post といった template ファイルを置き換えるなどです。
注意:id はユニークではないかもしれません
gatsby-plugin-mdx と gatsby-source-filesystem を使用していると、graphql で各ファイルの node や parent から id を取得できます。これらの id は build 毎に再生成される値のようで永続的ではないようです。よって、自動生成される id を基準にコメントと記事を紐づけるとキャッシュクリアで紐付きがなくなる可能性があります。
query MDXQuery {
  allMdx {
    edges {
      node {
        id # こういうid
      }
    }
  }
}
// blog.mdx
---
blogId: 自分で決めるユニークな値
title: ブログのタイトル
---
title やファイル階層は変わる可能性があると考えると、mdx にファイル毎に自身でユニークな値を紐づけておくのが安全に思えます。何か機能を追加する度に mdx のタイトル欄に変数が増えていく感じ、データベースのマイグレーションみたいに思えていて、マイグレーション機能がない分、面倒に感じる部分でもあります。
theme 使用側で shadowing する
theme 側の準備ができたら次に theme 使用側で Comments コンポネント を shadowing(上書き)します。gatsby の theme では次のように shadowing が可能です。
- src/theme 名/shadowing 対象の Component の階層に同名ファイルを作成
今回は theme 側で src/components/Comments.tsx にファイル作成したので、src/gatsby-crudzoo/components/Comments.tsx にファイルを作成すれば shadowing できます。
// src/gatsby-crudzoo/components/Comments.tsx
import * as React from "react";
import { CommentProps } from "gatsby-crudzoo";
export const Comments: React.FC<CommentsProps> = (props) => {
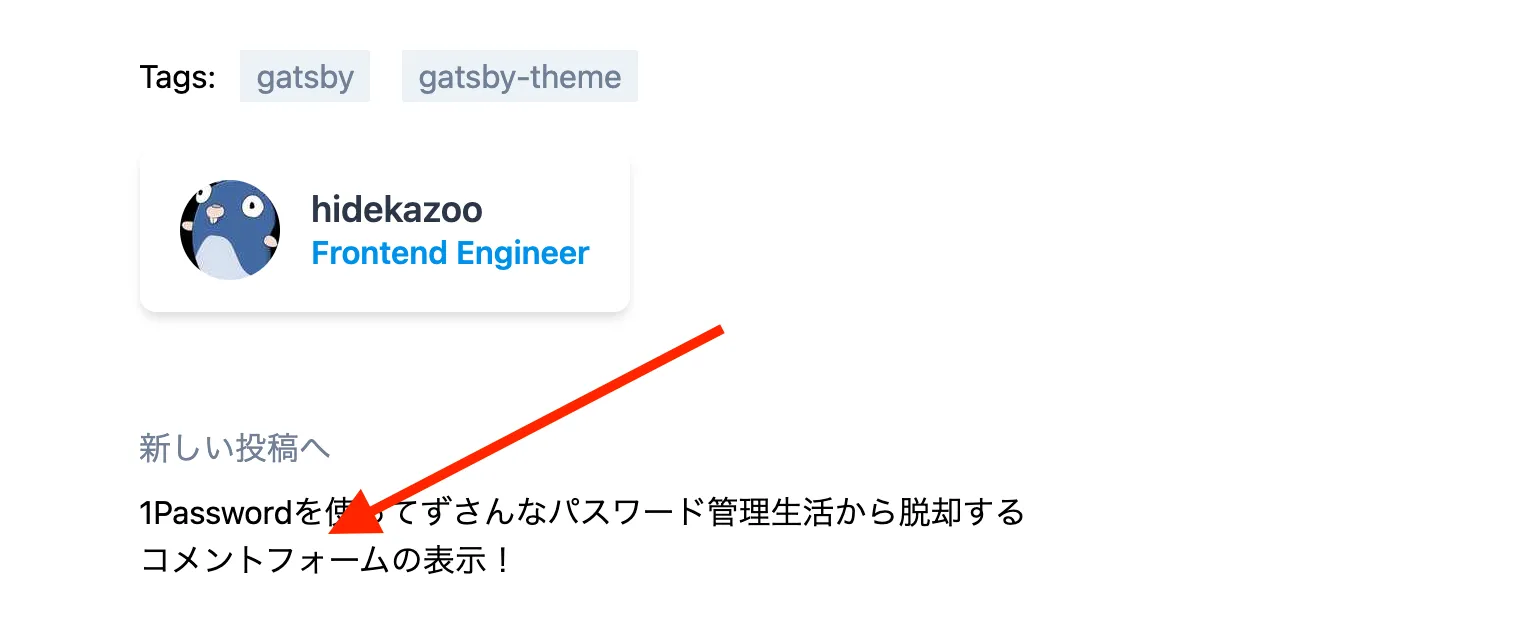
return <div>コメントフォームの表示!</div>;
};
shadowing に成功すれば theme 使用側で作成したコンポネントが変わりに表示されます。
Firebase との連携、コメントフォームの作り込み
下記の記事が参考になります。
How To Build Your Own Comment System Using Firebase - SMASHING MAGAZINEコメントフォームを作りこむ
上記の記事を参考に firebase と連携するフォームを作成しました。gatsby-crudzoo では css ライブラリに tailwind を読み込んでいるので、 tailwind のドキュメントを参考にそれらしく作りました。また、formik 勉強中なので今回は formik とバリデーション用に yup を使っています。簡易なフォームなので form ライブラリなしでも良いと思います。
特に制約はないため自由に作成してください
import * as React from "react";
import * as Yup from "yup";
import { useFormik } from "formik";
import { CommentsProps } from "gatsby-crudzoo";

const CommentSchema = Yup.object({
  name: Yup.string(),
  comment: Yup.string().required("入力必須です"),
});

export const Comments: React.FC<CommentsProps> = (props) => {
  const [complete, setComplete] = React.useState(false);
  const { id } = props;
  const formik = useFormik({
    initialValues: { name: "", comment: "" },
    validationSchema: CommentSchema,
    onSubmit: async (values, { setSubmitting }) => {
      // ...コメント投稿処理を書く
    },
  });

  const btnStyle = {
    opacity: formik.isSubmitting ? "0.3" : "1",
  };

  const renderComplete = () => {
    return (
      <div className="mt-10">ご意見、ご感想の投稿ありがとうございました。</div>
    );
  };

  return (
    <div className="mt-12">
      <h3 className="text-2xl">コメント</h3>
      <div className="mt-1 text-gray-600">
        頂いたコメントは管理者のみ確認できます。表示はされませんのでご注意ください。
      </div>
      {complete ? (
        renderComplete()
      ) : (
        <>
          <form onSubmit={formik.handleSubmit}>
            <div className="mt-3">
              <label
                htmlFor="name"
                className="block text-md font-medium text-gray-700"
              >
                お名前
              </label>
              <div className="mt-1">
                <div className=" sm:rounded-md sm:overflow-hidden">
                  <input
                    id="name"
                    name="name"
                    className="appearance-none shadow-sm focus:ring-indigo-500 focus:border-indigo-500 mt-1 block w-full sm:text-sm border-gray-300 border rounded-md p-2"
                    placeholder=""
                    onChange={formik.handleChange}
                    value={formik.values.name}
                  />
                </div>
              </div>
            </div>
            <div className="mt-4">
              <label
                htmlFor="comment"
                className="block text-md font-medium text-gray-700"
              >
                <div className="flex">
                  コメント
                  <div className="ml-2 text-red-500">
                    {formik.touched && formik.errors.comment}
                  </div>
                </div>
              </label>
              <div className="mt-1">
                <div className="rounded-md shadow-sm -space-y-px">
                  <textarea
                    id="comment"
                    name="comment"
                    rows={6}
                    className="appearance-none mt-1 block w-full sm:text-sm border-gray-400 border rounded-md p-2"
                    placeholder="この記事の感想、ご意見をどうぞ"
                    onChange={formik.handleChange}
                    value={formik.values.comment}
                  />
                </div>
              </div>
            </div>
            <div className="mt-4">
              <button
                type="submit"
                disabled={formik.isSubmitting}
                className="mt-4 ml-auto relative sm:mt-0 sm:h-auto block w-full sm:w-auto border border-transparent px-6 py-3 text-base font-semibold leading-snug bg-primary text-white rounded-md shadow-md hover:bg-blue-400 focus:outline-none transition ease-in-out duration-150"
                style={btnStyle}
              >
                {formik.isSubmitting ? "投稿中です..." : "投稿する"}
              </button>
            </div>
          </form>
        </>
      )}
    </div>
  );
};
完成です!今回はコメントを投稿できるだけで表示する機能は作成していません。
スパム対策は行っていないため、アクセス数や読者の反応が多いウェブサイトではこの作りだと不安が残ります。そういった時は外部コメントサービスの使用を考えたり、外国のサイトでよくみる議論の続きは Twitter で!の方針をお勧めします。